The Science of Kimchi Fermentation: How Lactic Acid Bacteria Transform Cabbage
Kimchi fermentation is not a single event. It is a sequence of microbial shifts, chemical reactions, and environmental changes that unfold over days, weeks, and months — transforming salted cabbage into one of the most complex fermented foods in any cuisine.
Understanding this process means understanding lactic acid fermentation in its most visible, most accessible form.
What Is Kimchi Fermentation?
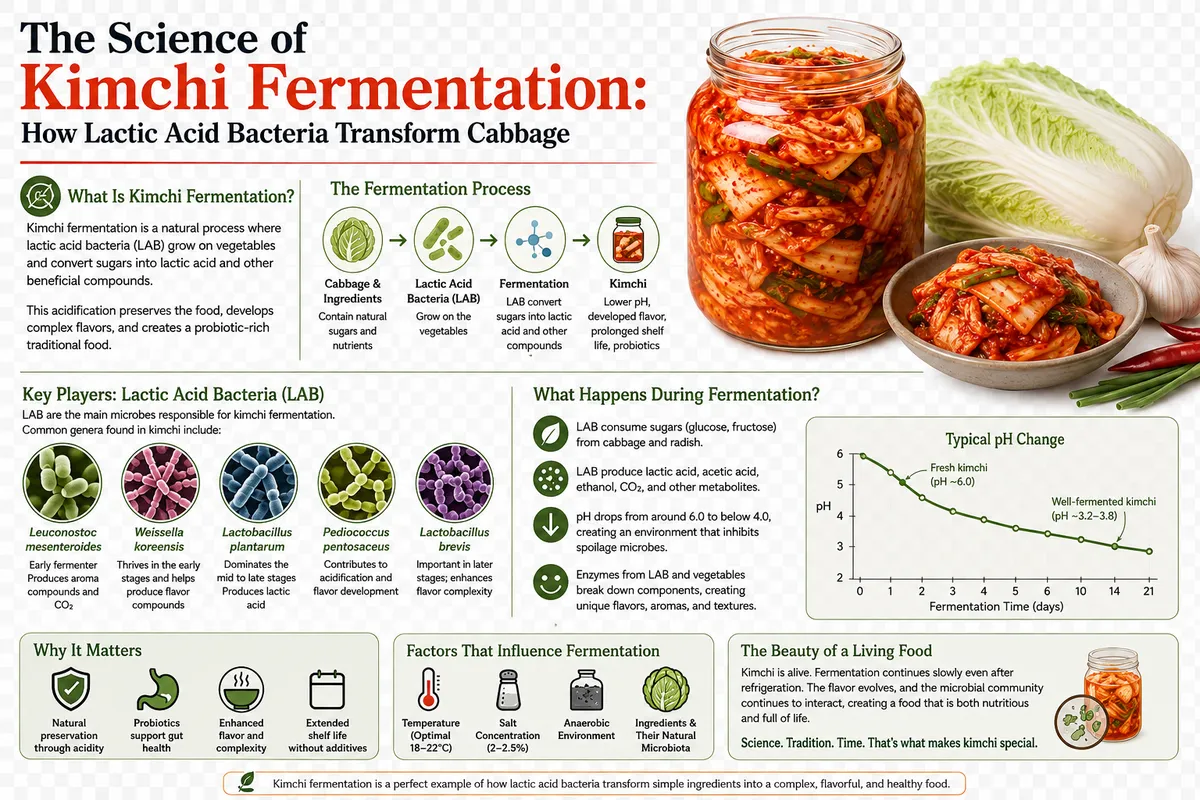
Kimchi fermentation is a lactic acid fermentation — a process in which lactic acid bacteria (LAB) convert carbohydrates in the vegetables into organic acids, primarily lactic acid. The acid lowers the pH of the environment, creates the characteristic sourness, and suppresses the growth of spoilage organisms.
The process begins the moment salted, seasoned vegetables are packed into a container. Lactic acid bacteria already present on the raw cabbage leaves begin metabolizing available sugars. No starter culture is required. The microorganisms are already there.
What makes kimchi fermentation particularly interesting is that it is not dominated by a single bacterium from start to finish. The microbial community changes over time — a process called microbial succession.
Lactic Acid Fermentation: The Microbial Succession
The fermentation of kimchi proceeds through recognizable stages, though the exact timeline varies with temperature, salt concentration, ingredients, and the specific microbial community present.
Early stage: Bacteria from groups such as Leuconostoc and Weissella are often prominent in the first days. These organisms are heterofermentative — they produce not only lactic acid but also carbon dioxide, ethanol, and other compounds. The CO2 is what creates the bubbles you see in freshly fermenting kimchi. The flavor at this stage is bright, mildly sour, and still close to the fresh vegetable character.
Middle stage: As acidity increases and pH drops below approximately 4.5, the environment becomes less hospitable to Leuconostoc. More acid-tolerant species, including Lactobacillus species such as L. plantarum and L. sakei, become increasingly competitive. These are homofermentative — they produce primarily lactic acid, without significant CO2 production. The sourness deepens. The carbonation subsides. The flavor becomes more complex.
Late stage: Over weeks and months, the microbial community simplifies. Acid-tolerant Lactobacillus species dominate. Lactic acid concentration continues to rise. Proteins from fish sauce, salted shrimp, and the cabbage itself are gradually broken down into free amino acids — including glutamic acid, the primary compound behind umami perception. This is why aged kimchi (mukeunji) has a savory depth that fresh kimchi cannot match.
This succession is not a rigid script. It varies with every batch. But the general pattern — early Leuconostoc activity giving way to Lactobacillus dominance — is one of the most consistent features of kimchi fermentation.
How Salt Controls the Kimchi Fermentation Process
Salt is the single most important variable in kimchi fermentation. It does not cause fermentation — it shapes the environment in which fermentation occurs.
At the typical kimchi salt concentration of 2 to 5 percent, most spoilage bacteria cannot function. Lactic acid bacteria, which are more salt-tolerant, gain a competitive advantage. The salt also draws water from the cabbage cells through osmosis, wilting the leaves and creating the brine that becomes the fermentation medium.
Too little salt and the fermentation environment becomes unpredictable — undesirable organisms may establish themselves before lactic acid bacteria can take over. Too much salt and lactic acid bacteria are inhibited, slowing fermentation and producing an excessively salty result.
This is why the salting step is often described as the most critical step in kimchi making. You are not simply adding flavor. You are calibrating the environment that will determine which microorganisms win the competition inside the jar.
The Role of Gochugaru, Garlic, and Fermented Seafood
The seasoning in kimchi is not just for flavor. Each component interacts with the fermentation process.
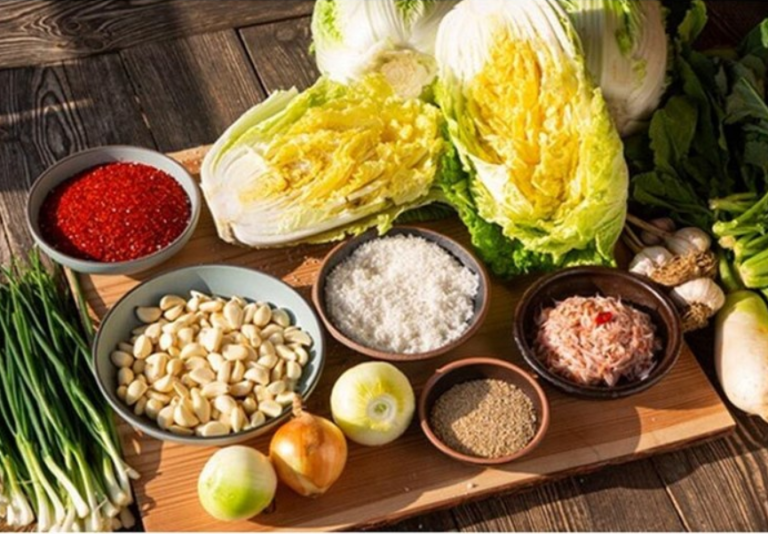
Gochugaru (Korean red pepper flakes) contributes capsaicin, which has mild antimicrobial properties. Some research suggests it may influence the microbial community composition during fermentation, though the effect is secondary to salt concentration and temperature.
Garlic contains allicin and other sulfur compounds with known antimicrobial activity. In fresh form, these compounds are reactive and may suppress certain microorganisms during the early stages of fermentation. As fermentation progresses, these compounds are themselves transformed — contributing to the complex aroma of aged kimchi.
Fermented seafood (fish sauce, salted shrimp) serves a dual purpose. It provides salt and it provides a nitrogen source. The free amino acids in fish sauce and jeotgal give lactic acid bacteria an immediately available nitrogen supply, which can accelerate the initial phase of fermentation. The amino acids also contribute directly to umami from the beginning, building a flavor base that deepens as fermentation continues.
Together, these ingredients create a fermentation environment that is unique to Korean kimchi. The same lactic acid bacteria that ferment German sauerkraut or Japanese nukazuke operate in kimchi, but the chemical environment they work in — shaped by gochugaru, garlic, ginger, and fermented seafood — produces a fundamentally different flavor result.
Temperature and the Kimchi Fermentation Process
Temperature is the accelerator pedal of kimchi fermentation.
At room temperature (18 to 25 degrees Celsius), kimchi can ferment noticeably within one to three days. The microbial succession moves quickly. Sourness develops rapidly. The window between pleasantly fermented and overly sour is narrow.
At refrigerator temperature (0 to 4 degrees Celsius), fermentation slows dramatically. The same microbial processes still occur, but over weeks and months rather than days. This slow fermentation allows more complex flavor development — more time for enzymatic protein breakdown, more time for secondary metabolites to accumulate, more time for the different stages of microbial succession to unfold gradually.
This is why the same kimchi recipe can produce very different results depending on temperature management. A kimchi fermented quickly at room temperature will taste bright and sharply sour. The same kimchi fermented slowly under refrigeration will develop a rounder, deeper, more layered flavor.
Traditional Korean kimchi storage — in onggi pots buried underground or kept in cool ondol-heated rooms — maintained temperatures between roughly 0 and 10 degrees Celsius through the winter. Modern kimchi refrigerators replicate this temperature range with precise control. The goal in both cases is the same: slow the fermentation enough to allow complexity to develop.
What Happens to the Cabbage During Fermentation
The cabbage itself is not a passive container for microbial activity. It changes throughout the process.
Initially, salt draws water from the cell walls through osmosis. The leaves wilt and release liquid that becomes part of the brine. As acidity increases, the plant cell structures weaken further. The texture softens gradually — crisp at first, then yielding, then eventually quite soft in long-fermented kimchi.
At the same time, the cellular contents of the cabbage — sugars, amino acids, vitamins, and other organic compounds — become available to the lactic acid bacteria. The bacteria consume some of these compounds and produce others. The cabbage is simultaneously the substrate (what the bacteria eat), the medium (where the bacteria live), and the product (what becomes the food you eat).
This is what makes vegetable fermentation conceptually elegant. The food is its own fermentation vessel.
Why Kimchi Tastes Different at Every Stage
A one-day-old kimchi and a one-year-old kimchi are not the same food. They share the same ingredients and the same origin, but the fermentation has taken them to completely different places.
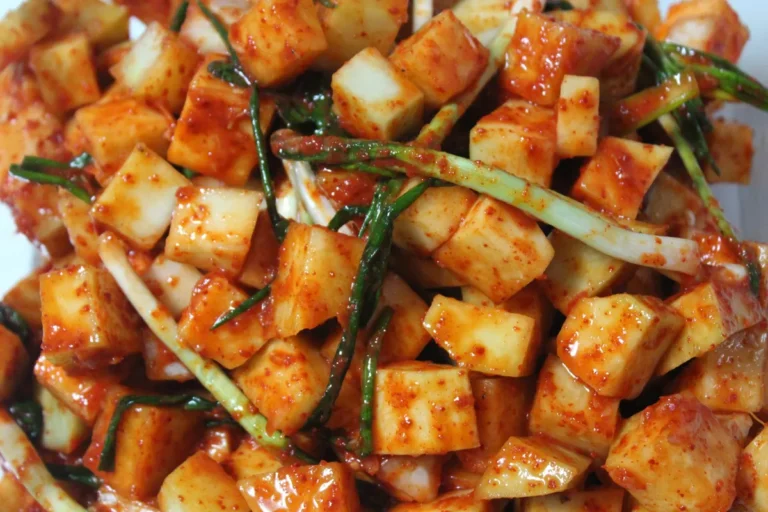
Fresh kimchi (one to three days): bright, crunchy, mildly sour, with the raw flavors of garlic and ginger still prominent. The lactic acid concentration is low. The microbial community is diverse and active.
Young kimchi (one to four weeks): sourness is well developed. The vegetable flavors have mellowed. The seasoning has integrated. Most people consider this the peak eating stage for baechu kimchi as a side dish.
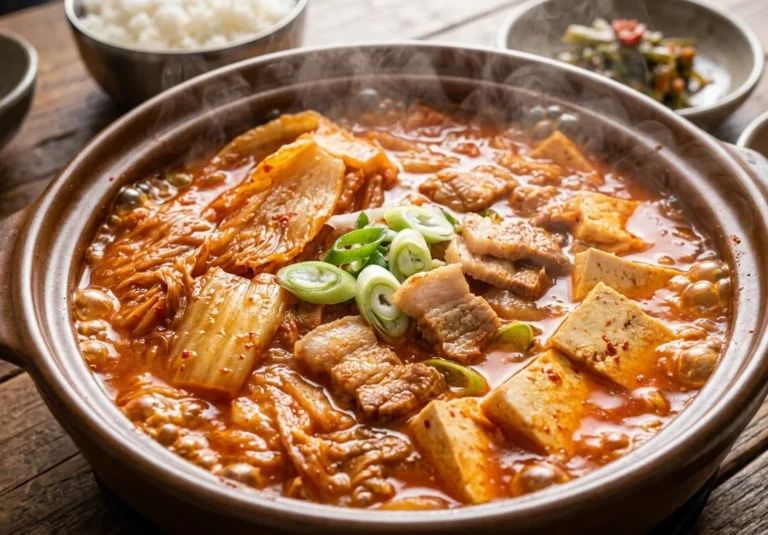
Aged kimchi or mukeunji (three months to one year or more): intensely sour. The texture is soft. The color has darkened. Free amino acids have accumulated, giving the kimchi a deep umami character. At this stage, it is more often used as a cooking ingredient — in jjigae, fried rice, or grilled alongside meat — than eaten raw as a side dish.
Each stage is the result of the same fermentation process at a different point in time. The microorganisms do not change their behavior. The chemistry simply accumulates.
Kimchi Fermentation in the Larger Context
Kimchi is often treated as a unique food, and in culinary terms it is. But from a fermentation science perspective, it belongs to a large family of lactic acid fermented vegetables that spans cultures and continents.
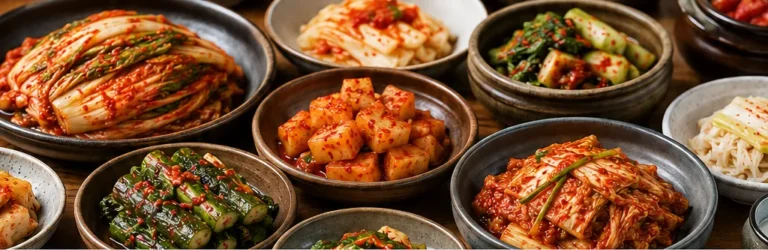
Sauerkraut, pickles, curtido, gundruk, torshi — all are vegetables fermented by lactic acid bacteria under salt. The microbial processes are closely related. The flavors are different because the vegetables, seasonings, and environmental conditions are different.
What makes Korean kimchi distinctive is the complexity of its seasoning system. No other lactic acid vegetable fermentation combines chili, garlic, ginger, and fermented seafood in the same way. That combination creates a chemical environment that produces flavors and aromas that other vegetable fermentations simply do not generate.
The fermentation principle is universal. The result is Korean.
This content is for informational purposes only and is not medical advice.