How Vinegar Is Born: The 2-Stage Fermentation Process
Vinegar is not a single fermentation. It is two.
The first stage is alcoholic fermentation. Yeasts convert sugars into ethanol and carbon dioxide. The second stage is acetic acid fermentation. Acetobacter bacteria oxidize the ethanol into acetic acid ? the compound that gives vinegar its sour taste.
These two stages happen sequentially. The first requires anaerobic conditions. The second requires oxygen. Understanding this sequence explains why homemade fruit wine sometimes turns sour unexpectedly, and why that transformation is not spoilage but a second fermentation completing what the first one started.
Fermentation Doesn’t Stop After One Round
One of the biggest misconceptions when people first learn about fermentation is thinking it’s a single event. Grapes ferment into wine, wine sits around and changes — that’s the rough mental model most people have. But vinegar actually goes through two separate fermentations.
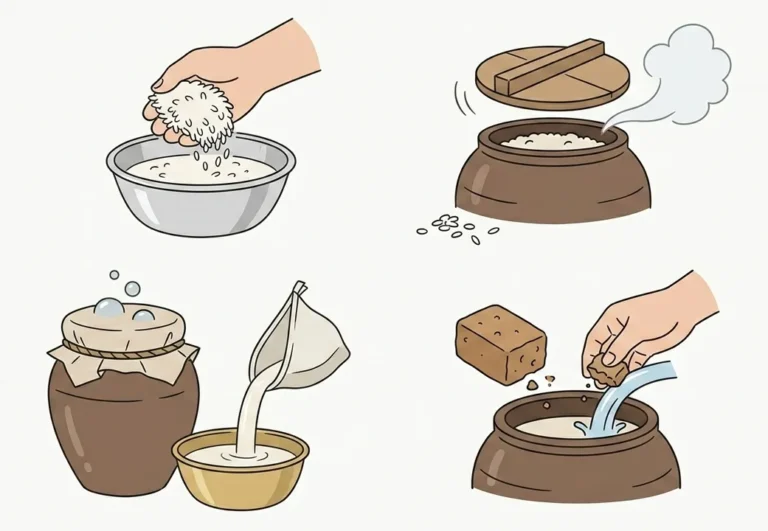
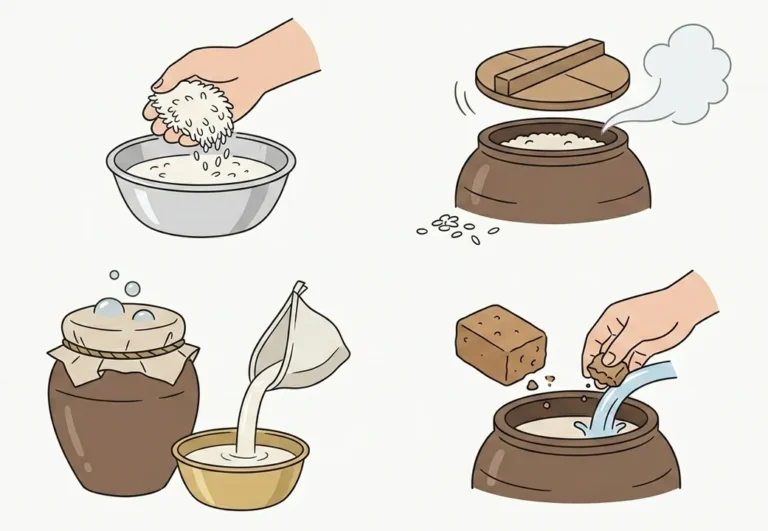
Stage 1 is alcoholic fermentation — the conversion of sugar into alcohol. Yeast (Saccharomyces cerevisiae and related species) consume sugars and produce alcohol along with carbon dioxide. This is how grape juice becomes wine and cooked rice becomes makgeolli. The key condition here: keep oxygen out. Yeast produces alcohol under anaerobic conditions.
Stage 2 is acetic acid fermentation — the conversion of alcohol into acetic acid. A different microorganism, Acetobacter, consumes that alcohol and produces acetic acid, which is the compound responsible for vinegar’s sharp sourness. This stage requires the opposite condition: oxygen. Acetobacter is aerobic — it needs air to work. That’s the crucial insight. The two stages require opposite conditions.
Both stages need to happen in sequence for real vinegar to form. If Acetobacter skips ahead and acts directly on sugar, the result won’t be proper vinegar. The alcohol middle step is what shapes vinegar’s aroma and character. This is exactly why apple cider vinegar smells different from rice vinegar. The personality of the vinegar comes from the personality of the alcohol it was made from.
Where Does Acetobacter Actually Come From?
This is the question most first-time vinegar makers get stuck on. Do you need to add Acetobacter? Or does it just appear? The answer is both.
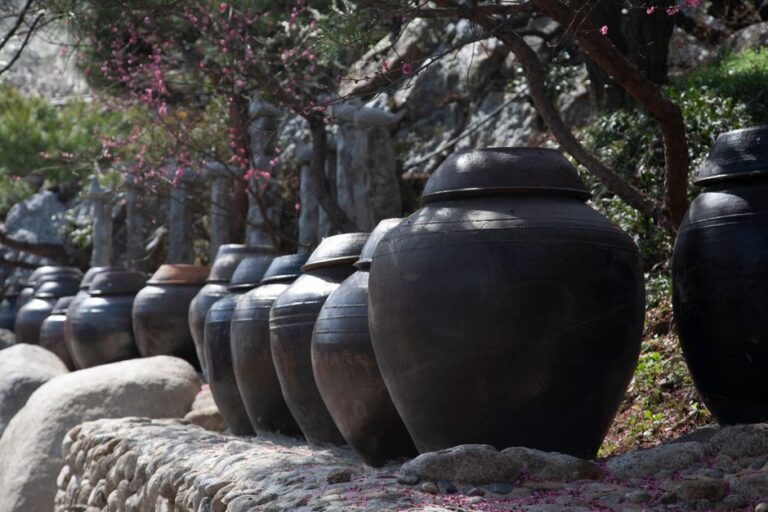
In natural fermentation, Acetobacter is already present in the environment. It lives on fruit skins, wooden surfaces, and fermentation vessels. When you leave an alcohol-containing liquid open to the air, wild Acetobacter drifts in and starts colonizing. This is the logic behind traditional vinegar-making. Old wooden barrels turn wine into vinegar because those barrels have Acetobacter living in the wood itself.
In more controlled modern methods, you inoculate by adding a starter vinegar — unpasteurized, naturally fermented vinegar that still contains live Acetobacter. A small amount added to your alcohol gives the bacteria a head start and dramatically reduces failure rates.
You can also see the fermentation working with your own eyes. A thin, whitish film will start forming on the surface of the liquid. That’s the vinegar mother — a colony of Acetobacter cells. If you spot it, fermentation is going well. A lot of beginners mistake it for mold and skim it off. Don’t. That mat is a living culture. Save it. It can seed your next batch of vinegar.
Practical Tips for Making Vinegar at Home
Knowing the theory helps, but most failures happen because of small details that get overlooked. Here’s what actually matters.
Tip 1 – Keep Alcohol Concentration Between 5–8%
Acetobacter works best within a specific alcohol range. Too low and there’s not enough fuel; fermentation will be weak. Too high and the alcohol itself becomes toxic to the bacteria. The sweet spot is 5–8% ABV. If your homemade wine or fruit brew came out stronger than that, dilute it with water before starting acetic fermentation. Starting with anything above 10% ABV often leads to slow or failed fermentation.
Tip 2 – Open-Air Doesn’t Mean Fully Uncovered
Acetobacter needs oxygen, but leaving a container completely open invites contamination from dust and unwanted microbes. The traditional approach is to cover the opening with breathable cotton cloth or Korean hanji paper, secured with a rubber band. Air passes through; debris and insects don’t. Fruit flies in particular are intensely attracted to vinegar smells. One fruit fly getting into your ferment early on can contaminate the whole batch. That cloth cover alone eliminates roughly half of home fermentation failures.
Tip 3 – Stir Gently Once a Day to Speed Things Up
Acetobacter congregates at the surface of the liquid, where oxygen is available. If the bacteria stay only at the top, fermentation is slow. Giving the liquid one gentle stir per day with a clean spoon brings the bacteria into contact with more of the liquid, and fermentation noticeably picks up. Be gentle — you don’t want to break up the vinegar mother mat. Whether or not you do this daily can make a difference of more than two weeks in total fermentation time.
Tip 4 – Aim for 25–30°C (77–86°F)
Acetobacter likes warmth. Below 20°C (68°F), fermentation slows significantly. Above 35°C (95°F), the bacteria can die off. Korean summers are essentially ideal for making vinegar. In winter, you’ll need to actively manage the temperature of your fermentation space. If your ferment seems stuck, check the temperature first.
Tip 5 – Use pH Strips to Know When It’s Done
Tasting alone isn’t reliable enough to judge completion. Vinegar needs to reach pH 3.5 or below for adequate acidity. pH test strips give you a visual, objective reading of where your ferment stands. They’re available at pharmacies and online fermentation supply stores. Once the pH drops sufficiently, the acidity itself inhibits harmful microbial growth and improves shelf life. One pH check saves a lot of guesswork.
Recipe: Homemade Apple Cider Vinegar
Apple cider vinegar is the easiest starting point for beginners. Apples have good natural sugar content and develop a pleasant aroma after acetic fermentation.
Ingredients
- 1 kg ripe apples
- 500 ml still water
- 100 g sugar
- 100 ml unpasteurized natural fermented vinegar (starter vinegar)
- Pinch of salt (optional)
Equipment
- 2–3 liter glass jar
- Breathable cotton cloth or hanji paper
- Rubber band
Steps
- Wash the apples thoroughly and chop them small, skin on. Remove the seeds and stems. The skins carry wild Acetobacter, so organic apples are preferred if available.
- Combine the chopped apples, sugar, and water in the glass jar. Stir until the sugar fully dissolves.
- Cover the opening with breathable cloth and secure with a rubber band. Place in a warm spot at 25–28°C (77–82°F) for 7–10 days. This is Stage 1 — alcoholic fermentation. Stir once daily. Bubbling is a good sign; it means fermentation is active.
- After 7–10 days, strain out the apple solids. At this point, the liquid should smell faintly of alcohol and may still have some fizz.
- Add 100 ml of starter vinegar to the strained liquid. Cover again with cloth and ferment at the same temperature for 20–30 days. This is Stage 2 — acetic acid fermentation. Stir gently once a day. A thin white film forming on the surface means fermentation is on track.
- When pH strips read 3.5 or below, the vinegar is ready. Transfer to bottles and store in the refrigerator. If the acidity is strong enough, room-temperature storage is possible, but refrigeration is safer.
The finished vinegar works well in salad dressings, diluted as a drink (10 parts water to 1 part vinegar), or added at the end of cooking for brightness and acidity.
The Philosophy Behind Vinegar
Something becomes clear when you make vinegar. Fermentation isn’t about control — it’s about setting the right conditions. Give Acetobacter what it needs, and it does the work on its own. You’re not creating sourness directly. You’re creating the environment where microorganisms create it for you.
Vinegar isn’t failed wine. It’s wine that moved to its next stage. The progression from Stage 1 to Stage 2 fermentation follows a direction that nature already has built in. Leave alcohol exposed to air long enough, and it will eventually become acetic acid. Humans figured this out thousands of years ago, learned to guide the process, and built entire culinary traditions around it.
Most vinegar sold today, though, is made in factories in about three days. The fermentation is skipped entirely. Industrial acetic acid — produced chemically — is diluted with water. It tastes sour, yes. But the organic acids, amino acids, and aromatic compounds that develop during real fermentation aren’t there. That’s why homemade fermented vinegar and supermarket vinegar taste so different at their cores.
Making vinegar teaches you both stages of fermentation through direct experience. You learn how to make alcohol, then you watch that alcohol become something else entirely. For anyone starting out with fermentation, this is one of the best entry points there is. Once the two-stage logic makes sense, every other fermented food becomes easier to understand.
If you have leftover fruit wine sitting around, don’t throw it out. Drape a piece of cotton cloth over the jar, secure it, and set it somewhere warm. Open it in three or four weeks. You’ll likely find vinegar. That’s the second stage of fermentation, happening right in your kitchen.
Cautions and Disclaimer
The fermented vinegar described in this article is a fermented food intended for general healthy eating. It is not recommended as a treatment or preventive measure for any specific medical condition. If you have a sensitive digestive system or experience acid reflux symptoms, consult a qualified healthcare professional before consuming. Vinegar is highly acidic and may irritate the stomach lining if consumed undiluted on an empty stomach. Always dilute before drinking.
This content is for informational purposes only and is not medical advice.